Discover the Perfect Vanilla Nut Granola Recipe

Granola is the kind of treat that feels both indulgent and wholesome. And when you throw vanilla and nuts into the mix? Pure magic. This vanilla nut granola recipe isn’t just any recipe—it’s your ticket to a kitchen filled with the aroma of toasted oats, roasted nuts, and the subtle sweetness of vanilla. Whether you’re a seasoned granola maker or just dipping your toes into the world of homemade goodies, this recipe is going to become your new favorite. Let’s dive in!
Introduction to Vanilla Nut Granola
Granola has been a beloved staple for decades, and it’s no mystery why. It’s versatile, easy to customize, and makes you feel like you’re starting your day on the right note. Add vanilla and nuts, and you’ve got a recipe that’s not just tasty but also irresistibly fragrant and satisfying.
1.What Makes Granola a Healthy Snack?
Granola combines hearty ingredients like oats, nuts, and seeds, which are packed with fiber, protein, and healthy fats. These nutrients not only keep you feeling full but also provide long-lasting energy. Whether you enjoy it as breakfast or an on-the-go snack, granola is a power-packed option.
2.The Allure of Vanilla and Nut Combinations
Vanilla adds a warm, sweet undertone that ties all the ingredients together, while the nuts bring in a satisfying crunch and nutty richness. It’s like the culinary version of a perfect duet—two distinct elements coming together in harmony.
“Vanilla and nuts in granola are like peanut butter and jelly—a classic combination that never fails to impress.”
Ingredients Needed for Vanilla Nut Granola
Now that you’re hooked on the idea, let’s talk about the ingredients you’ll need.
1.Choosing the Right Oats for Granola
The base of any great granola starts with oats. Look for old-fashioned rolled oats—they toast beautifully and provide the perfect texture. Avoid instant oats; they tend to get too mushy.
2.A Guide to Selecting the Best Nuts
When it comes to nuts, variety is the spice of life. Almonds, pecans, and walnuts are classic choices for granola, but don’t shy away from experimenting with cashews or hazelnuts. Pro tip: Chop them roughly for a mix of textures.
3.The Role of Vanilla in Enhancing Flavor
Vanilla extract is a game-changer here. A teaspoon or two of high-quality vanilla will elevate your granola from good to great. Look for pure vanilla extract—it’s worth the splurge!
4.Optional Ingredients for a Custom Touch
Feeling adventurous? Here are a few extras you can toss in:
- Dried fruits: Cranberries, raisins, or apricots for a touch of natural sweetness.
- Seeds: Chia or flax seeds for an added nutritional boost.
- Spices: A pinch of cinnamon or nutmeg for a cozy twist.
“Granola is like a blank canvas—let your creativity shine by adding your favorite ingredients!”
Step-by-Step Guide to Making Vanilla Nut Granola

Ready to turn those simple ingredients into something spectacular? Let’s get started.
1.Prepping the Ingredients for Success
Before you begin, preheat your oven to 325°F (160°C). Line a large baking sheet with parchment paper to prevent sticking and make cleanup a breeze. Gather all your ingredients, and measure them out—organization is key to smooth baking.
2.Creating the Perfect Wet Mix
In a medium-sized saucepan, melt some butter or coconut oil over low heat. Stir in honey or maple syrup (your choice!) and vanilla extract. This liquid mix will coat the oats and nuts, helping them toast evenly and develop a golden hue.
3.Mixing and Baking: Secrets to Crunchy Granola
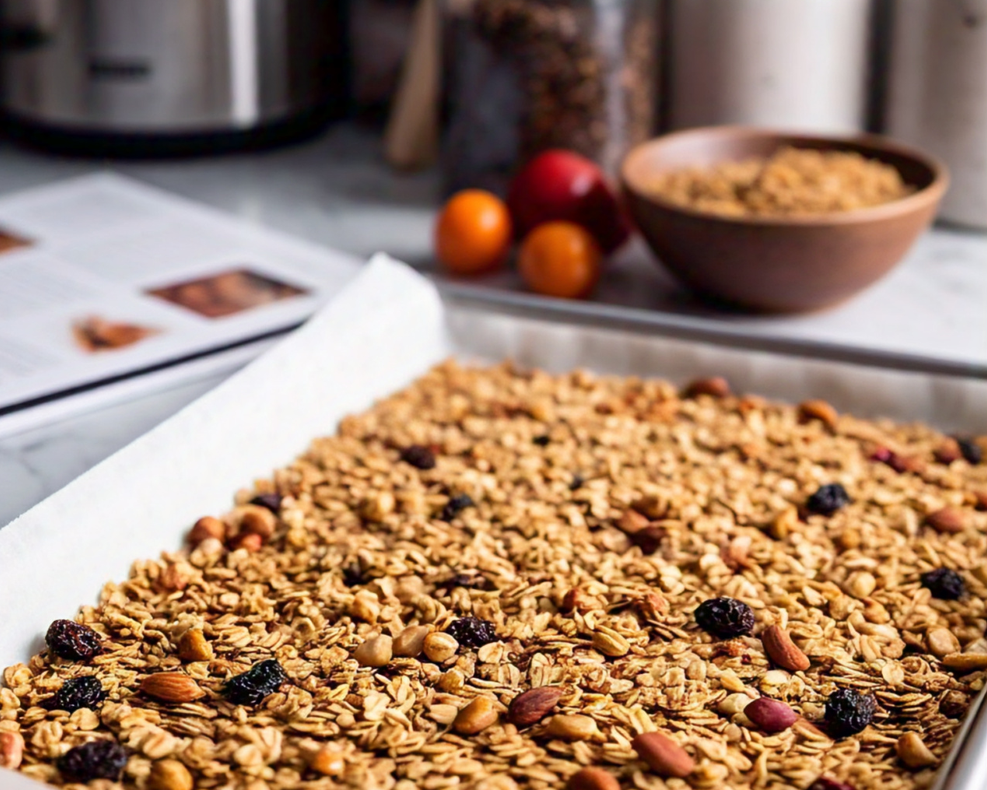
Combine your oats, nuts, and any seeds in a large mixing bowl. Pour the wet mix over the dry ingredients, stirring well to ensure everything is coated. Spread the mixture evenly on the prepared baking sheet, then bake for about 25-30 minutes, stirring halfway through to prevent burning.
4.Cooling and Storing for Maximum Freshness
Once your granola is golden and fragrant, let it cool completely on the baking sheet. This step is crucial for achieving that satisfying crunch. Once cooled, transfer it to an airtight container, where it will stay fresh for up to two weeks.
“Patience pays off—letting granola cool completely is the secret to that irresistible crunch!
Troubleshooting, Creative Variations, and Serving Ideas for Vanilla Nut Granola
Common Problems and Solutions in Making Granola
Even the most straightforward recipes can have a few hiccups. Don’t worry—I’ve got you covered with some of the most common granola-making challenges and how to solve them.
1.Problem: Granola Clumps Together
Clumping granola can be both a blessing and a curse. If you want clumps, you may find it tricky to achieve; if you don’t, they may form unintentionally.
Solution: To create clumps, press the granola firmly into the baking sheet before placing it in the oven. Avoid stirring until it’s completely cooled. If you prefer loose granola, stir it several times during baking to break up clusters.
2.Problem: Burnt or Overcooked Granola
There’s nothing worse than biting into a spoonful of granola only to find burnt pieces. This happens easily because granola bakes quickly and unevenly.
Solution: Bake at a lower temperature (around 325°F or lower) and stir halfway through to ensure even toasting. Keep a close eye during the last few minutes, as granola can go from golden to burnt in a flash.
3.Problem: Lack of Flavor Depth
Sometimes, granola can taste bland, even when it looks amazing.
Solution: Use high-quality ingredients, especially for vanilla and sweeteners like honey or maple syrup. A pinch of salt can also elevate the flavors, bringing out the sweetness and nuttiness in the mix.
“Granola-making is a little like painting—you need the right balance of colors (flavors) to create a masterpiece.” 🎨
Variations of Vanilla Nut Granola Recipe
One of the best things about homemade granola is how customizable it is. Here are a few exciting variations to inspire you.
1.Adding Dried Fruits for Sweetness
Mix in dried cranberries, raisins, or chopped apricots after baking. Adding them during baking can dry them out too much or cause burning. Dried fruits add pops of natural sweetness and chewy texture that perfectly balance the crunch of granola.
2.Incorporating Seeds for Extra Nutrition
Want to pack more nutrients into your granola? Add chia seeds, flaxseeds, or sunflower seeds. These tiny powerhouses are rich in omega-3 fatty acids and fiber, making your granola even healthier.
3.Vegan and Gluten-Free Modifications
For a vegan version, swap honey for maple syrup and butter for coconut oil. To make it gluten-free, ensure your oats are certified gluten-free. With these simple tweaks, everyone can enjoy your delicious granola! 🌱
“Granola is for everyone—make it your way and share the love!” ❤️
Serving Ideas for Vanilla Nut Granola
Now that you’ve mastered the art of granola-making, let’s talk about how to enjoy it.
1.As a Breakfast Cereal with Milk
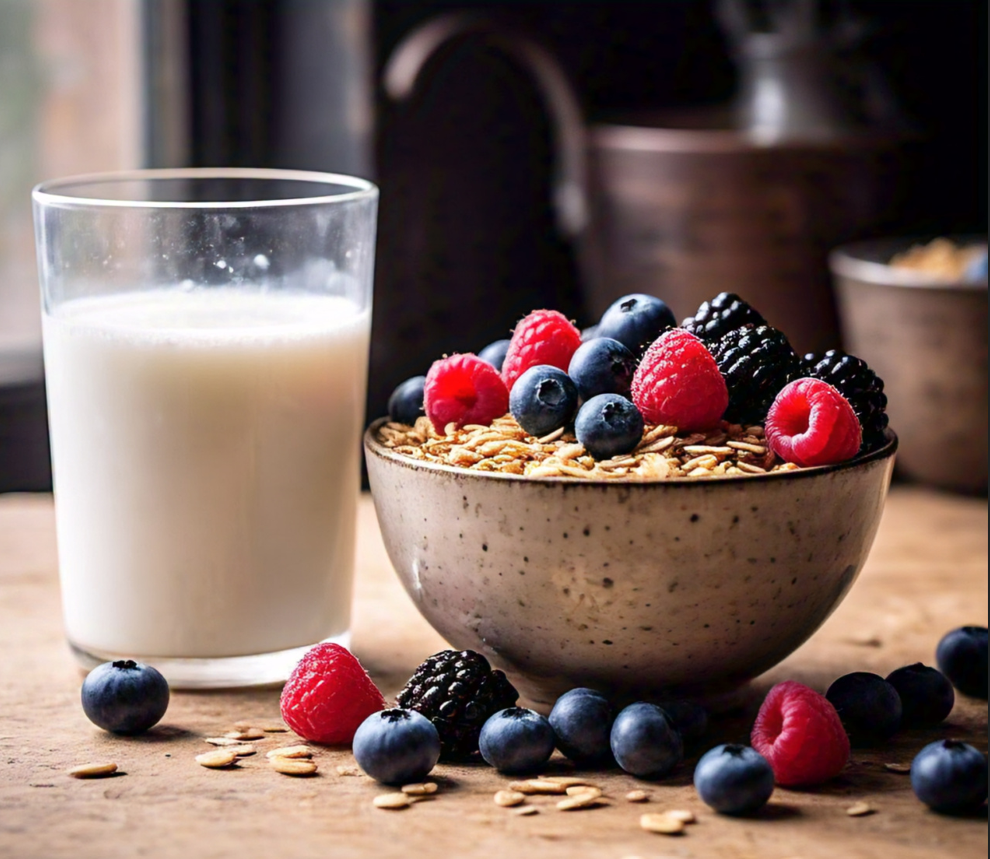
The classic way to enjoy granola is as a cereal. Pour your favorite milk over a bowl of vanilla nut granola, and you’ve got a quick, nutritious start to your day. For extra flavor, try it with almond or oat milk.
2.Topping for Yogurt or Smoothie Bowls
Granola is the ultimate topper for yogurt and smoothie bowls. Its crunch complements the creaminess of yogurt, while its flavor pairs beautifully with fruits like berries or banana slices.
3.A Portable and Healthy Snack Option
Pack granola in small, resealable bags for an on-the-go snack. It’s a great alternative to chips or candy, offering energy and satisfaction without the guilt.
“Granola is the Swiss army knife of snacks—versatile, satisfying, and always there when you need it.” 🔧
Storing, FAQs, and Why You’ll Love Vanilla Nut Granola
Storing and Preserving Vanilla Nut Granola
You’ve made a delicious batch of vanilla nut granola—now let’s make sure it stays fresh and tasty for as long as possible.
1.Proper Storage to Maintain Crunch
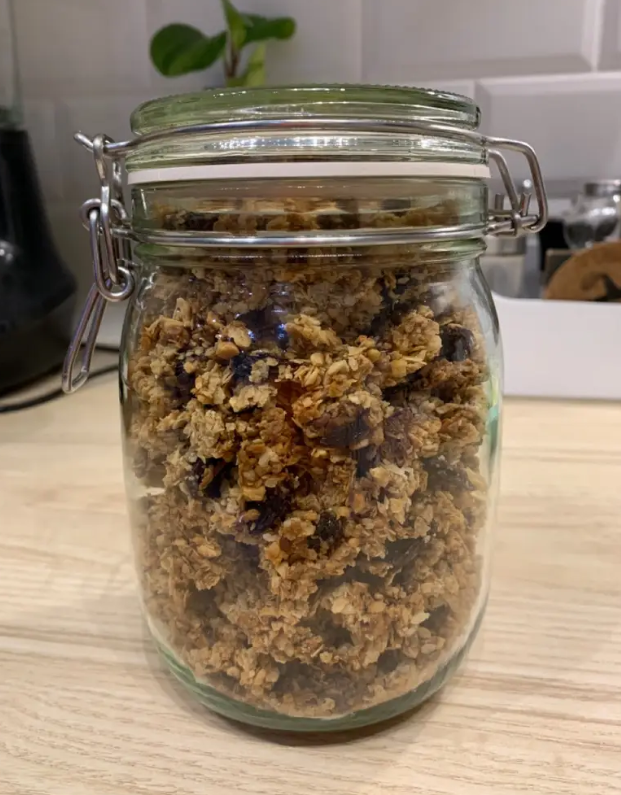
Granola thrives in a cool, dry place. Once your granola has cooled completely (seriously, no skipping this step!), transfer it to an airtight container. A mason jar, a resealable bag, or a storage container works perfectly. Stored properly, your granola will maintain its crunch and flavor for up to two weeks.
2.Tips for Freezing Granola
Yes, you can freeze granola! If you’ve made a big batch, divide it into smaller portions and store it in freezer-safe bags. When you’re ready to enjoy, simply let it thaw at room temperature for a few hours. Freezing doesn’t compromise the flavor or texture, so it’s a great way to save time later.
“Granola in the freezer is like a treasure chest—you’ll thank yourself later when you open it!” ❄️
FAQs About Vanilla Nut Granola
You asked, and I’ve got answers! Here are some of the most common questions about making and enjoying homemade granola.
1.Can I Make This Recipe Sugar-Free?
Absolutely! Replace honey or maple syrup with sugar-free alternatives like stevia or monk fruit syrup. Keep in mind that the sweetener also helps bind the granola, so you may need to experiment a bit to get the texture just right.
2.What Nuts Work Best for Granola?
The beauty of granola is its flexibility. Almonds, pecans, and walnuts are the most popular choices because of their flavor and texture. However, you can experiment with others like cashews, macadamia nuts, or even pistachios for a unique twist.
3.How Long Does Homemade Granola Last?
If stored properly, granola stays fresh for about 2 weeks at room temperature. In the freezer, it can last up to 3 months. Remember to keep it in an airtight container to preserve its crunch and flavor.
Conclusion: Why Vanilla Nut Granola is a Must-Try
Vanilla nut granola isn’t just a recipe—it’s a lifestyle upgrade. It’s simple, customizable, and packed with wholesome goodness. Whether you’re enjoying it as a quick breakfast, a midday snack, or even a dessert topping, this recipe brings joy to every bite. Plus, the aroma of baking granola? Pure happiness.
“Homemade granola is a little love letter from your kitchen to your taste buds.” ❤️
So, grab your ingredients and get started. Your future self (and your family) will thank you. Happy granola-making! 😊
Looking for more inspiration? Explore Mesmerizing Recipes for a treasure trove of culinary ideas that cater to every taste and skill level.

